You just finished extracting 200 product listings from a competitor's website. The data is sitting in a CSV file on your desktop. Now you need to upload it to Google Sheets, format the columns, ping your team on Slack, and create tasks in Asana for the items that need follow-up.
By the time you finish the manual handoff, an hour has passed. And tomorrow you will do it all again.
This is the automation gap that kills productivity. Web scraping gets you the data, but without proper integration, you are still doing busywork to move that data where it needs to go. Zapier bridges this gap by connecting your web scraping to over 7,000 apps, so extracted data flows automatically into the tools where you actually work.
This beginner's guide will show you how to connect web scraping to Zapier, turning one-off data extraction into fully automated pipelines that run while you sleep.
Why Connect Web Scraping to Zapier?
Before diving into the how, let us understand why Zapier has become the default choice for automation.
The 7,000+ App Ecosystem
Zapier connects to virtually every business tool: Google Sheets, Slack, Airtable, HubSpot, Salesforce, Notion, Asana, Trello, and thousands more. When your web scraper sends data to Zapier, you gain instant access to this entire ecosystem.
A real estate analyst scraping Zillow listings can automatically:
- Add new listings to an Airtable database
- Send a Slack notification when properties match specific criteria
- Create calendar events for viewing appointments
- Update a client-facing Google Sheet
All from a single scrape, with zero manual intervention.
No-Code Automation
Zapier's visual interface means you do not need programming skills to build sophisticated workflows. You describe what you want in plain terms: "When new data arrives from web scraping, create a row in my spreadsheet and send me an email."
This democratizes automation. Marketing managers, recruiters, and analysts can build their own data pipelines without waiting for engineering resources.
Reliability at Scale
Zapier handles the infrastructure concerns that would otherwise require technical expertise:
- Retry logic: If a destination app is temporarily unavailable, Zapier retries the action
- Error notifications: You get alerted when something fails
- Rate limiting: Zapier manages API limits across connected apps
- Logging: Full history of every action for debugging and auditing
The Architecture: How Scraping and Zapier Work Together
Understanding the connection pattern helps you design better workflows.
Webhooks: The Universal Connector
Most web scraping tools connect to Zapier through webhooks. A webhook is a URL that receives data and triggers an action. Think of it as a mailbox: your scraper sends a package (the extracted data), and Zapier is waiting at the mailbox to receive it.
The flow looks like this:
- Scraper extracts data from a website (products, leads, articles, etc.)
- Scraper sends data to a Zapier webhook URL
- Zapier receives the data and triggers your workflow
- Zapier performs actions in connected apps (Google Sheets, Slack, etc.)
This happens automatically, either on a schedule or in real-time as data is extracted.
Native Integrations vs Webhooks
Some scraping tools have direct Zapier integrations with pre-built triggers and actions. Others rely on webhooks for maximum flexibility. Both approaches work well; native integrations are slightly easier to set up, while webhooks offer more customization.
Tools like Lection support both approaches: native Zapier integration for common workflows, plus webhook export for custom scenarios.
Step-by-Step: Connecting Your First Scrape to Zapier
Let us walk through a practical example. Say you want to monitor ProductHunt for new AI tools and automatically add interesting launches to your Airtable research database.
Step 1: Create Your Zapier Account
If you do not already have a Zapier account, sign up at zapier.com. The free tier includes 100 tasks per month, enough to get started.
A "task" in Zapier terms is a single action. If your scrape sends 10 new products and each product creates one Airtable record, that is 10 tasks.
Step 2: Create a Zap with Webhook Trigger
In Zapier, click "Create Zap" to start a new automation. For the trigger, search for "Webhooks by Zapier" and select "Catch Hook."
Zapier generates a unique webhook URL. This is your mailbox address. Copy it; you will need it in the next step.
Important: Do not share your webhook URL publicly. Anyone with this URL can send data to your Zap.
Step 3: Set Up Your Web Scraper
Now configure your scraping tool to send data to this webhook. Here is how it works with Lection:
- Install the Lection Chrome extension
- Navigate to ProductHunt (or your target website)
- Click the Lection icon and select the data you want to extract
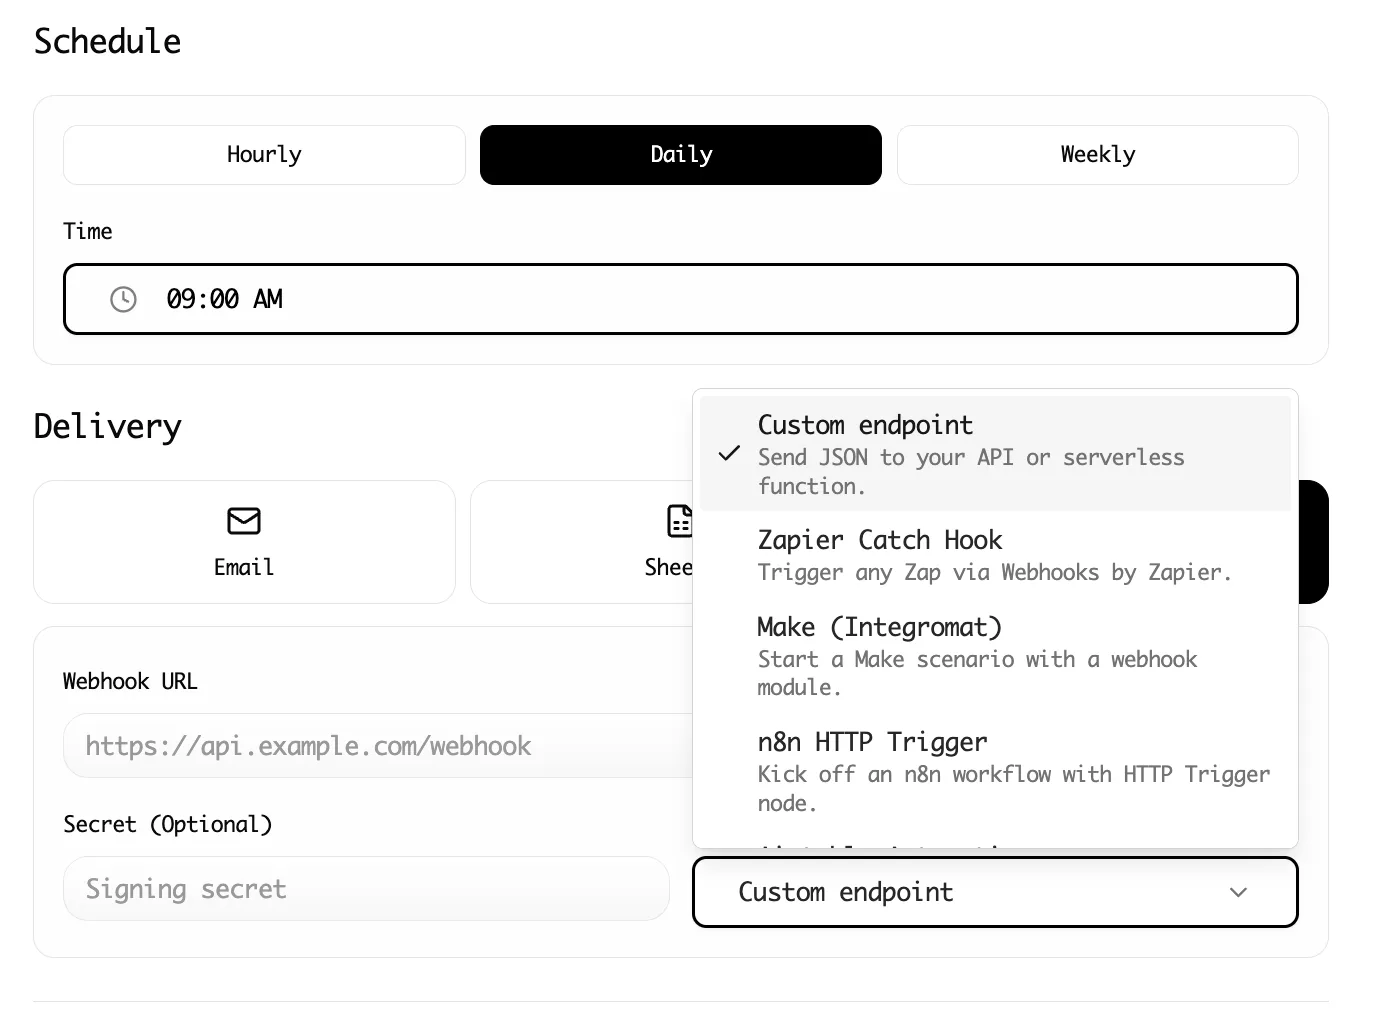
- In export options, select Webhook
- Paste your Zapier webhook URL
- Run the scrape
When the scrape completes, Lection sends the extracted data to Zapier.
Step 4: Test the Connection
Back in Zapier, click "Test trigger." Zapier waits for incoming data from your webhook. Run a small test scrape (just a few items) to verify the connection.
When Zapier receives your data, you will see each field displayed. This confirms the connection is working and shows you what data is available for your workflow.
Step 5: Add Your Actions
Now configure what happens with the incoming data. Click the "+" button to add an action.
For our ProductHunt example, search for "Airtable" and select "Create Record." Connect your Airtable account and choose the base and table where records should be created.
Map the incoming fields to your Airtable columns:
- Product Name → Name field
- Product URL → URL field
- Tagline → Description field
- Upvotes → Votes field
Click "Test action" to create a sample record and verify everything is configured correctly.
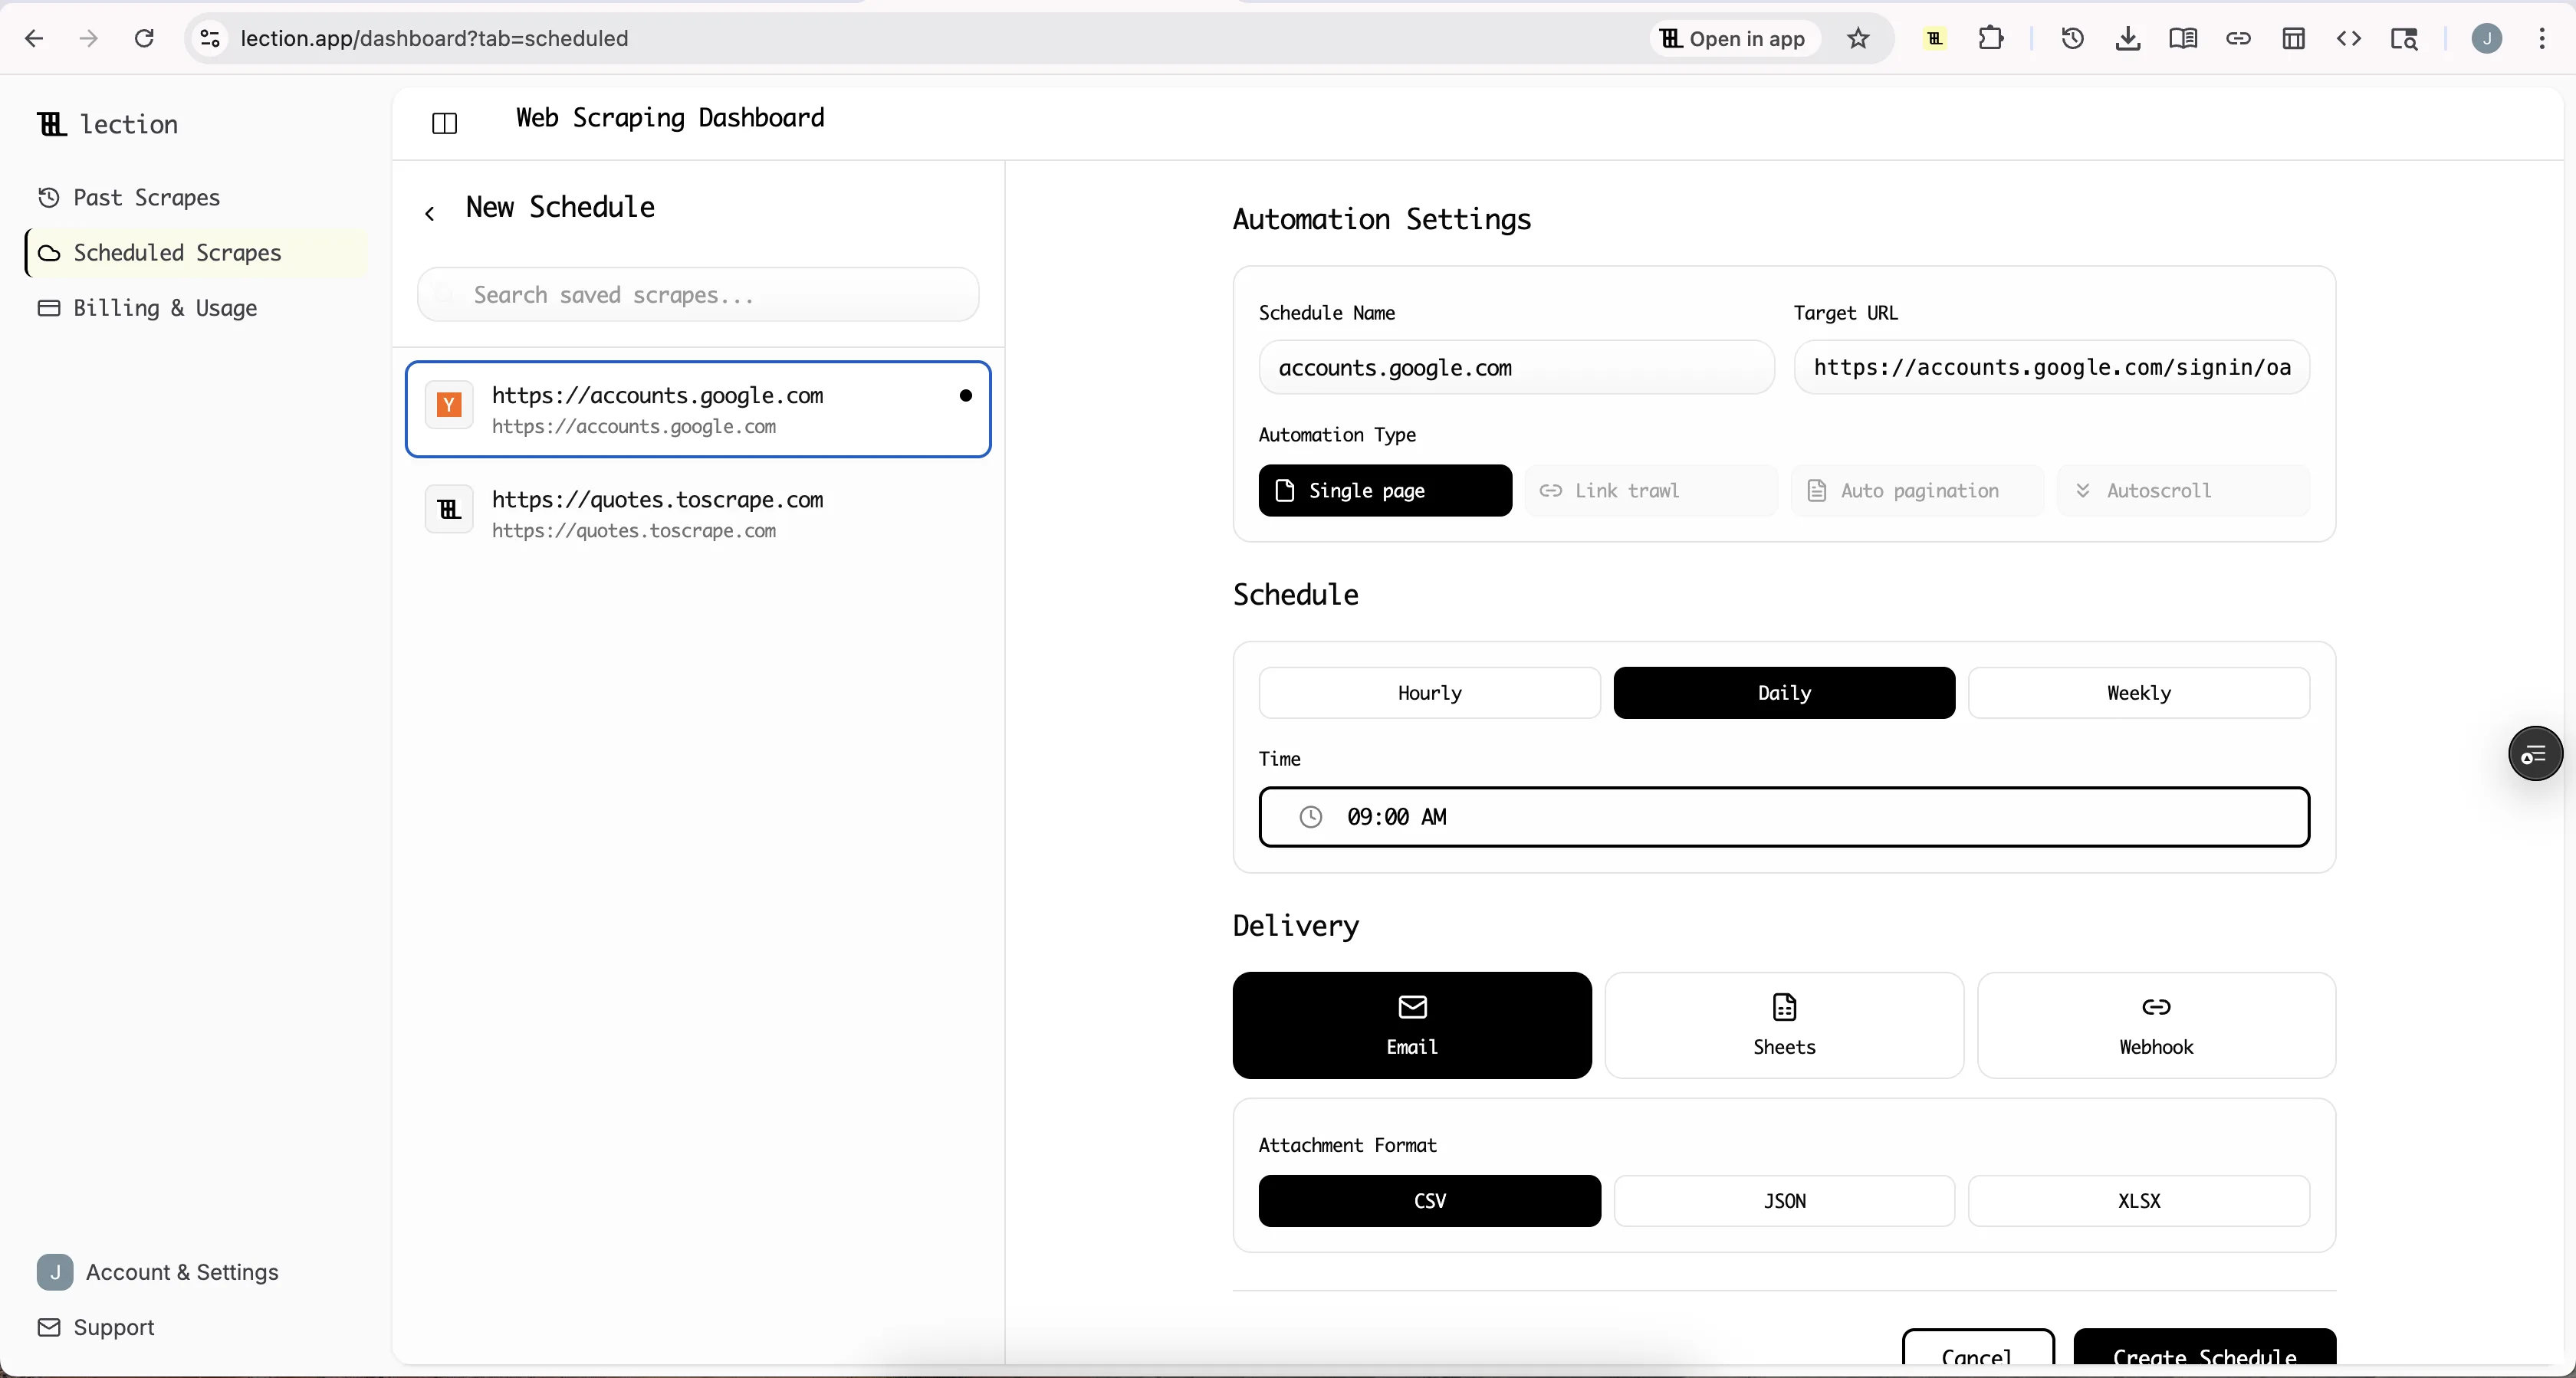
Step 6: Activate and Schedule
Turn on your Zap by clicking "Publish." Now whenever your web scraper sends data to the webhook, Zapier automatically creates Airtable records.
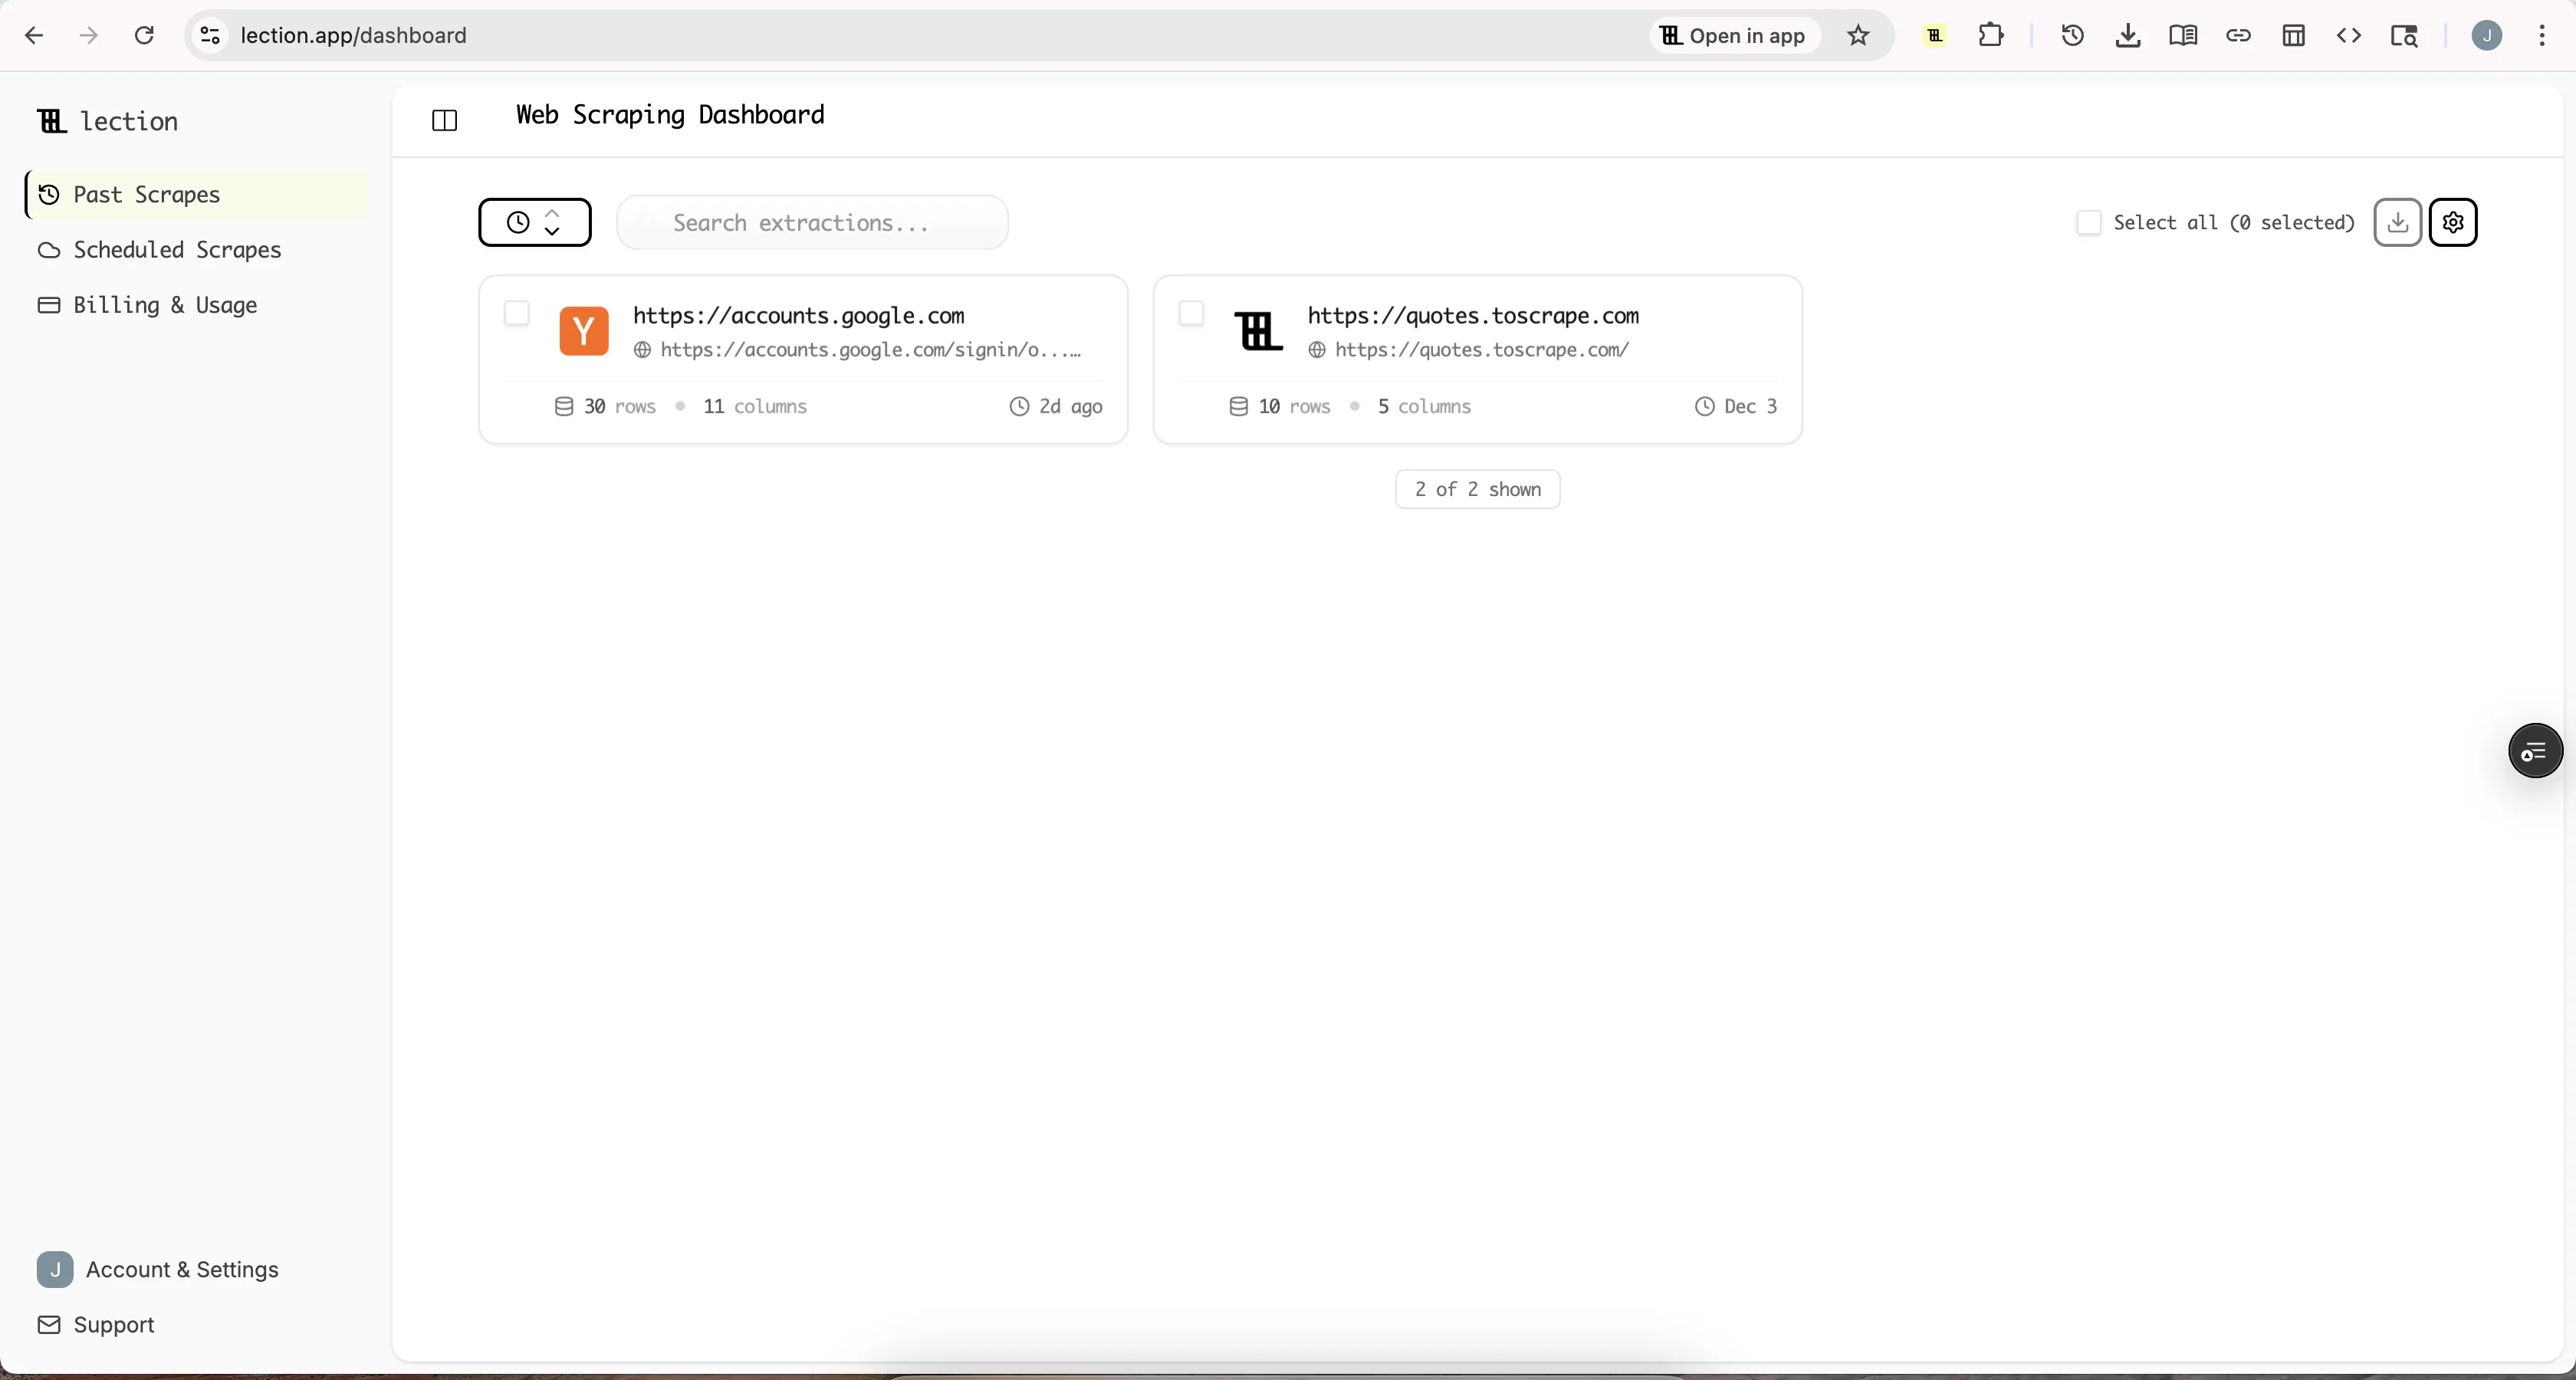
For recurring data collection, configure your scraper to run on a schedule. With Lection's cloud scraping, you can set scrapes to run hourly, daily, or weekly. Each run automatically triggers your Zapier workflow.
Advanced Patterns: Going Beyond Simple Data Transfer
Once basic integration is working, consider these advanced patterns.
Multi-Step Workflows
Zapier lets you chain multiple actions. A single incoming scrape can:
- Create a record in Airtable
- Send a Slack notification
- Add a row to a Google Sheet backup
- Create a follow-up task in Asana
Each step executes in sequence, building sophisticated workflows from simple building blocks.
Conditional Logic with Filters
Not every scraped item deserves the same treatment. Zapier's Filters let you route data based on conditions:
- Only create records for products with more than 100 upvotes
- Send Slack alerts only for items containing specific keywords
- Route different categories to different Airtable tables
Filters reduce noise and ensure your downstream tools only receive data you actually care about.
Data Transformation with Formatter
Raw scraped data often needs cleanup before it is useful. Zapier's Formatter tool handles common transformations:
- Extract numbers from text ("$29.99" becomes 29.99)
- Format dates into consistent formats
- Split text to extract parts of URLs or descriptions
- Capitalize or lowercase text for consistency
For example, if you scrape prices with currency symbols, use Formatter to convert them to numbers before inserting into your spreadsheet.
Paths for Complex Routing
Paths let you create branching logic. Based on incoming data, different branches execute different actions:
- If category is "SaaS": Add to SaaS research table + notify product team
- If category is "Hardware": Add to hardware table + notify ops team
- Otherwise: Add to general research table
This pattern is powerful for routing scraped data to the right destination based on its content.
Real World Use Cases
These examples illustrate how different professionals use Zapier with web scraping.
Competitive Price Monitoring
Setup: Scrape competitor product pages daily. Use Zapier to:
- Add each product's current price to a Google Sheet
- Compare to yesterday's price using a spreadsheet formula
- If price dropped more than 10%, send a Slack alert to the pricing team
Result: Your team knows about competitor price changes within hours, not days.
Lead Generation and Enrichment
Setup: Scrape business directories for new company listings. Use Zapier to:
- Create a HubSpot contact for each scraped company
- Use Clearbit or Apollo to enrich with email addresses
- Add enriched leads to a specific sales pipeline stage
- Notify the assigned sales rep via Slack
Result: Fresh leads appear in your CRM automatically, already enriched and assigned.
Content and Research Aggregation
Setup: Scrape news sites, industry blogs, and social platforms for mentions of relevant topics. Use Zapier to:
- Collect all mentions in a single Airtable base
- Run AI summarization using Zapier's AI actions
- Create a weekly digest email with top mentions
- Add particularly important items to a Notion research database
Result: A comprehensive research feed without manually visiting dozens of sources.
Job Market Intelligence
Setup: Scrape job boards for postings at target companies. Use Zapier to:
- Track new postings in a Google Sheet
- Identify hiring patterns (many postings = growth signal)
- Alert sales team when target companies are expanding
- Feed data to a dashboard showing industry hiring trends
Result: Real-time hiring intelligence that informs sales prioritization.
Common Questions and Troubleshooting
"My webhook is not receiving data"
Debug checklist:
- Verify the webhook URL is copied exactly, with no trailing spaces
- Check your scraper's export settings to confirm webhook is selected
- Run a test scrape while watching Zapier's "Test trigger" screen
- Try a simpler webhook tester like webhook.site to isolate the issue
- Check for firewall or network issues that might block outgoing requests
"Zapier is creating duplicate records"
This usually means your scraper is sending the same data multiple times. Solutions:
- Add a unique ID field (like URL) and check for duplicates before creating records
- Use Zapier's "Find Record" action to check if a record exists first
- Configure your scraper to only send new data, not the full dataset each time
"Some fields are missing or empty"
Web pages are inconsistent. Some scraped items may lack certain fields. Handle this by:
- Setting default values in Zapier for optional fields
- Using Filters to skip records with missing critical data
- Adding Formatter steps to handle null values gracefully
"I am hitting Zapier's task limits"
Zapier's free tier has 100 tasks/month. Options:
- Filter more aggressively to reduce the number of items processed
- Batch data at the scraper level to send fewer, larger payloads
- Upgrade to a paid Zapier plan for more tasks
- Consider alternatives like Make (Integromat) with different pricing
"My Zap stopped working after the website changed"
Websites change layouts, and sometimes scraper configurations need updates. When this happens:
- Re-open your scraper on the target website
- Retrain the extraction with the current page structure
- Test the webhook delivery to ensure data format is still compatible
- Check your Zapier mappings and update if field names changed
Zapier vs Alternatives: When to Choose Each
Zapier is not the only automation platform. Here is when to use alternatives:
| Platform | Best For | Pricing Model |
|---|---|---|
| Zapier | Beginners, wide app coverage | Per-task |
| Make (Integromat) | Complex workflows, lower costs at scale | Per-operation |
| n8n | Self-hosted, technical users | Free (self-hosted) |
| Pipedream | Developers, code-based workflows | Per-invocation |
For most users starting out, Zapier's ease of use and extensive integrations make it the default choice. As your automation needs grow, you may explore alternatives for specific use cases.
Best Practices for Production Workflows
Once your scraping-to-Zapier pipeline is working, follow these practices for reliable operation.
Start Small, Then Scale
Begin with a single workflow monitoring a single data source. Get it running reliably for a week before adding complexity. Debugging a 10-step workflow is exponentially harder than debugging a 2-step workflow.
Document Your Zaps
Add descriptions to your Zaps explaining their purpose and expected behavior. Future you (or a teammate) will appreciate knowing why each step exists.
Monitor and Alert
Set up Zapier's error notifications. When something fails, you want to know immediately, not discover it weeks later when you notice missing data.
Version Control Your Configurations
Zapier does not have built-in version control. Take screenshots or notes of your configurations before making changes. This lets you restore previous setups if something goes wrong.
Respect Rate Limits
Both Zapier and destination apps have rate limits. If scraping large datasets, add delays or batch processing to avoid overwhelming any part of the pipeline.
Conclusion: Your Data Deserves to Flow
Manual data handoff is the silent killer of productivity. Every copy-paste, every export-import cycle, every "let me just move this to the other system" interrupts your actual work.
By directly connecting web scraping to Notion, you eliminate this friction. Data flows automatically from source to destination. Your scraped insights show up in the tools where you work, ready for analysis and action.
Ready to automate your web scraping workflows? Install Lection free and connect your first scrape to Notion in under 15 minutes.